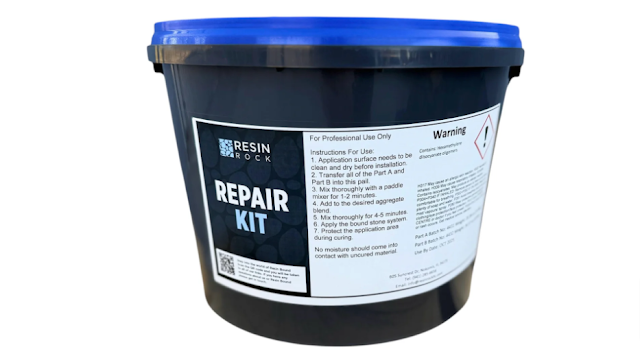
How to Use Resin Repair Kits for Seamless Surface Fixes
Resin repair kits are an excellent solution for fixing cracks, chips, and other surface imperfections in stone, concrete, and even wood. Whether you’re dealing with minor damages on countertops, floors, or outdoor surfaces, a high-quality resin repair kit helps restore surfaces seamlessly. Here’s a step-by-step guide on how to use resin repair kits effectively.
1. Gather Your Materials
Before
you begin, make sure you have all the necessary materials, including:
• Resin
repair kit (containing resin, hardener, and applicator tools)
• Gloves
and safety goggles
• Sandpaper
(for smoothing the repaired area)
• Cleaning
cloth and alcohol-based cleaner
2. Clean the Damaged Surface
Thoroughly
clean the surface before applying the resin repair kit. Remove any dust, dirt,
or debris using an alcohol-based cleaner. This ensures the resin adheres
properly and creates a strong bond. Allow the surface to dry completely before
proceeding.
3. Prepare the Resin Mixture
Follow
the manufacturer’s instructions to mix the resin and hardener. Use the correct
ratio to ensure a durable and long-lasting repair. Stir the mixture thoroughly
until it reaches a uniform consistency. Some kits include color pigments,
allowing you to match the repaired area to the surrounding surface.
4. Apply the Resin to the
Damaged Area
Using
the applicator provided in the resin repair kit, carefully fill in cracks,
holes, or chips with the mixed resin. Work slowly to avoid air bubbles, which
can weaken the repair. If necessary, use a small spatula or brush to spread the
resin evenly.
5. Let the Resin Cure
Allow
the resin to cure based on the recommended drying time in the instructions.
This can range from a few hours to overnight, depending on the type of resin
and the temperature of the environment. Avoid touching or disturbing the area
during this period.
6. Sand and Polish for a Smooth
Finish
Once
the resin has fully cured, use fine-grit sandpaper to smooth the repaired
surface. If working on glossy materials like countertops or marble, polish the
area to blend it seamlessly with the surrounding surface.
Blog Summary
Resin repair
kits provide an easy and cost-effective way to fix
surface imperfections in stone, wood, and concrete. By following proper
cleaning, mixing, application, and curing steps, you can achieve a seamless and
durable repair. Whether for minor home fixes or professional restorations, resin
repair kits help maintain the beauty and strength of surfaces efficiently.


Comments
Post a Comment